

Imagine a situation: on the way to work, you remember that you forgot to turn off the iron. Familiar?
What if there is a solution that will free you from such anxieties — a master switch based on a modular contactor. It will allow you to turn off all unnecessary electrical appliances with one action, and upon returning — just as quickly restore their operation.
In this article, we will tell you how to create a master switch based on a regular wall switch and a KM contactor, provide a connection diagram, and analyze its features.
What is a master switch and why is it needed?
It's not just the iron that is dangerous to leave on unattended. Computer system units, air conditioners, washing machines — their operation can be affected by voltage surges or internal faults. Also, devices plugged into the outlet can be accidentally turned on by pets.
Turning off unnecessary groups with circuit breakers or completely de-energizing the apartment with the main switch is inconvenient, and not everyone understands the equipment of the apartment panel. We propose to assemble a master switch in the apartment: then de-energizing electrical circuits will be as simple as turning off the light.
A master switch is a system that allows controlling several electrical circuits simultaneously. Here are its main advantages:
Protection against forgetfulness and safety — the master switch will help prevent fires due to forgotten appliances.
Savings on bills. Numerous household appliances consume quite a bit of energy in standby mode. De-energizing them will reduce energy consumption by
Simple installation — all system components are installed in a standard electrical panel.
Flexible settings — you can combine only the necessary circuits.
Compatibility with smart home — just replace the switch with a Wi-Fi relay to control the system from a smartphone.
Solution components
To implement the master switch system, we need:
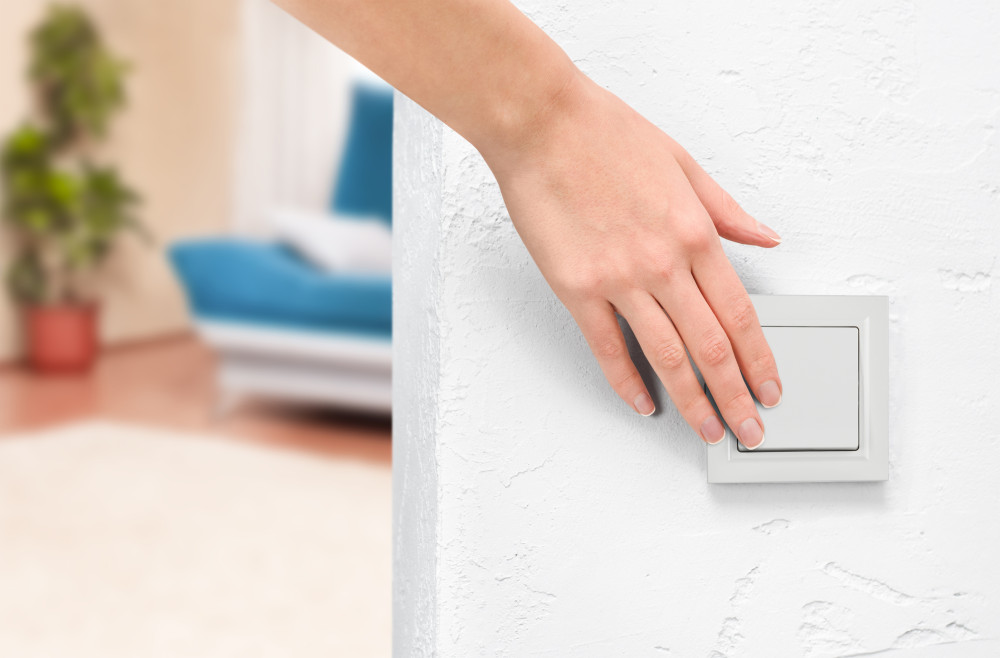
A single-gang switch — installed at the exit or in another convenient place.
Modular contactor — the "heart" of the system, switching the loads.
Circuit breakers, RCDs, RCBOs — standard elements of the electrical panel for protection and load management.
Tip: choose a contactor with a rated current higher than the total load of the connected appliances. For an apartment, models rated at
What is a modular contactor?
The basis of the master switch circuit is a modular contactor, an "intermediary" between low-current control systems and household electrical appliances. It increases safety and extends the service life of low-current equipment: controllers, relays, switches. At the same time, the device is compact, mounted on a DIN rail in an electrical panel. The key function of modular contactors in everyday life is the implementation of the master switch circuit, which we will consider below.
Here are the advantages of using a modular contactor:
- Control of powerful loads. The contactor is designed for frequent switching of circuits with high current (water heaters, underfloor heating, air conditioners, pumps). It protects the low-current contacts from rapid wear. This is especially relevant when switching loads with high inrush current, for example, when turning on several LED lights simultaneously.
- Automation of processes. The contactor allows connecting equipment to smart home systems, sensors, or timers. For example, turning off a water heater by a time relay signal or controlling outdoor lighting via a motion sensor.
- Compactness and versatility. The modular design allows installing the contactor in a standard electrical panel, in one row with circuit breakers and other devices. Depending on the model, it takes up the same space as
2–4 MCBs. - Separation of circuits. The contactor helps separate powerful consumers into groups with different currents and voltages. For example, you can use a control circuit with 24 V to switch a powerful motor with a supply voltage of 380 V through the contactor. Such isolation makes electrical panels safer and more functional.
Previously, we considered modular contactors and their connection diagrams in an article on our channel: https://dzen.ru/a/YPA8nPKohC3BWED0
Original apartment electrical panel diagram
In a typical apartment, there are at least two group circuit breakers, but usually more. The diagram could be like this:

We deliberately simplified the diagram and showed only circuit breakers without other devices, as well as phase, neutral, and protective wires powering the group circuits.
We explained the principles of calculating and constructing a home electrical panel diagram in an article on our channel: https://dzen.ru/a/aAYsplWg9WIpoqr0
Electrical panel diagram with a master switch
There can be many variants of the master switch circuit. The most common option is switching off lighting circuits. To develop the circuit, you need to divide the loads into two groups:
- Loads of non-switchable lines — those that are powered independently of the master switch operation: heating system, refrigerator, alarm, cameras, internet.
- Loads that are switched off by the master switch — those whose operation is not needed when we are not home: lighting circuits and sockets of living rooms.
The diagram with master switch elements could become like this:

One of the options for the master switch connection diagram in an apartment electrical panel.
Wires connecting the groups that will be controlled by the master switch are marked in red.
What has changed? The switch controls the contactor, which switches the switchable groups. Non-switchable groups (QF2, QF5) are connected before the contactor. The other groups (QF1, QF3, QF4, QF6) can now be switched off by a switch located in any convenient place. The circuit added circuit breaker QF7, which protects the contactor control circuits.
Leaving home, you now press the button on the wall switch — the light goes out, sockets are de-energized. Returning, you activate the circuits by pressing the button.
Circuit ratings
The rated current of the contactor must be higher than the maximum possible current passing through its power contacts. In our case, choosing a contactor rating of 40 A is justified by the rating of the main MCB: it is determined by the main cable and the allocated power for this apartment.
The rating of circuit breaker QF7 is determined by the control circuit current and can be less than 6 A.
The wall switch should be chosen with a rated current of 10 A.
Example of practical implementation of an electrical panel with a master switch
This photo was sent to us by Akim Ilyasov from Ufa.

In the upper part of the panel, an IEK KM20-20M modular contactor is installed, which controls the switchable groups. The control voltage comes to the contactor via a switch hidden behind the wardrobe door in the hallway. The panel is assembled in such a way that the contactor switches off all lighting circuits in the apartment.
The installed KM20-20M contactor can be seen better in the following photo:

Akim talked about this electrical panel in detail on our channel: https://dzen.ru/video/watch/633da1ed0a671f0be5fab57c
Conclusion
A master switch based on a modular contactor is a sensible solution for a modern home. It combines safety, energy efficiency, and comfort, freeing you from unnecessary hassle and worries.